
Pruning
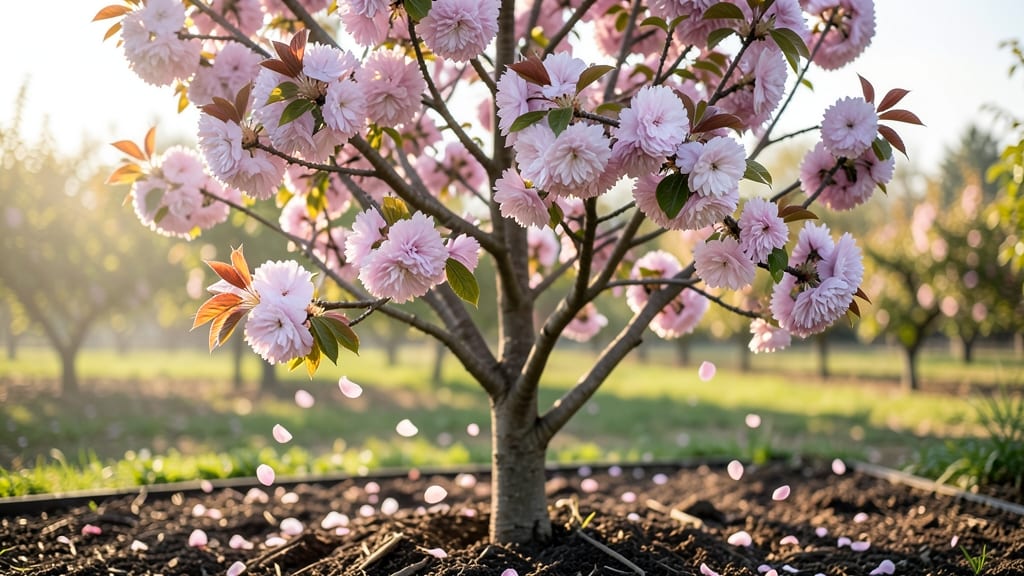
Spring pruning turns your plum tree into a fruit-producing powerhouse—bloom-boosting trims make all the difference between a handful of plums and a tree heavy with sweet rewards. 🌸 I’ve pruned my own plum tree for five years, and the best time to shape it is right after the last frost but before new growth explodes.
That’s when you’ll see the tree’s natural structure most clearly, making it easier to remove dead wood and open up the canopy for sunlight.
The key is working with the tree’s natural shape while keeping branches balanced. Start by removing any branches that cross or rub against each other—these weak spots invite disease. Then, cut back last year’s growth by about one-third to encourage stronger, fruit-bearing branches.
You’ll also want to thin out crowded areas so air circulates freely, which helps prevent fungal issues later in the season.
By the time summer rolls around, you’ll notice thicker, more vibrant foliage and a framework that supports a heavier fruit load. The tree will reward you with more plums per branch, and the fruit itself tends to be larger and sweeter when the tree isn’t overburdened.
Pruning at this time also sets the stage for better flowering next spring—it’s a cycle of care that pays off year after year.
This method works for both European and Japanese plum varieties, though Japanese plums often benefit from slightly lighter pruning. If you’re in a colder climate, hold off until late April or early May to avoid late frost damage to new blooms.
The goal is to give your tree the best chance to thrive, so don’t rush—take your time and step back often to check your progress.
📚 In This Guide
- What you need
- Instructions
- Tips and common mistakes
- Wrapping up and next steps
What you need
- ● Pruning shears (bypass pruners): Sharp, high-quality shears (e.g., FELCO or GARDENA) for clean cuts on small branches (1/4"–3/4" diameter). Pro tip: 💡 Oil blades before use to prevent rust!
- ● Loppers: Long-handled (20–24") for thicker branches (3/4"–2" diameter). Look for ratchet-style models for extra leverage.
- ● Pruning saw: Curved-tooth saw for branches thicker than 2" (e.g., Bahco or Felco). Warning: 🔥 Avoid tearing bark—cut on the underside of the branch.
- ● Gloves: Heavy-duty, cut-resistant gloves (e.g., Mechanix or Wolverine) to protect from thorns and splinters.
- ● Safety glasses: Protect your eyes from debris—non-prescription or prescription options work.
- ● Ladder or step stool: Sturdy, extendable ladder (e.g., Werner or Little Giant) for tall trees. Safety first: 🎯 Secure it to the tree or a stable anchor!
- ● Disinfectant (70% isopropyl alcohol or bleach solution): Wipe tools between cuts to prevent disease spread.
- ● Tree wound paint or pruning sealant: Controversial but handy for large cuts (e.g., Tanglefoot). Note: 🌡️ Modern research suggests not sealing small cuts—let them heal naturally!
- ● Tarp or drop cloth: Lay beneath the tree to collect debris and protect your lawn.
- ● Notebook & pencil: Sketch a quick map of branches to remove for reference.
- ● Pruning rope or zip ties: Temporarily support weak branches while healing.
- ● Weather check: Prune on a dry, calm day (avoid rain or wind). Ideal temps: 50–70°F (10–21°C).
- ● Tree health assessment: Inspect for diseased or dead branches (snap test: healthy wood bends; dead wood snaps).
- ● Sterilize tools: Clean blades with rubbing alcohol before and after pruning.
- ● Clear the area: Remove toys, pets, and flammable materials from under the tree.
Instructions for spring plum tree pruning
Here’s how to refresh your plum tree for bigger blooms and better fruit—without stressing the branches.
🌱 Step 1: Remove Dead or Damaged Wood First
Start by scanning your plum tree for branches that are broken, diseased, or dead. These are easy to spot—they’re brittle, cracked, or lack bark. Use clean, sharp pruning shears to cut them back to the main trunk or a healthy lateral branch. This isn’t just about looks; removing dead wood prevents pests and diseases from taking hold.
I always prune dead branches first because they’re the most obvious and the easiest to cut. If you see any branches with blackened or oozing spots, those go too. Cut just outside the branch collar—the swollen area where the branch meets the trunk—to avoid leaving stubs that can rot.
✂️ Step 2: Thin Out Crowded Branches for Better Airflow
Next, focus on thinning the canopy to let sunlight and air reach the center of the tree. Look for branches that cross each other or grow inward—they’ll rub against one another and create wounds. Remove about 20-25% of the tree’s branches, prioritizing the oldest and thickest ones first. This opens up the tree and encourages new growth.
When thinning, cut branches back to a lateral branch or the trunk. Avoid leaving stubs—always make clean cuts at a 45-degree angle just outside the branch collar. If you’re unsure which branches to remove, imagine sunlight streaming through the canopy. Gaps are good; they help fruit ripen evenly.
☀️ Step 3: Shape the Tree for Optimal Fruit Production
Now it’s time to shape the tree to encourage strong, productive growth. Start by identifying the main scaffold branches—the largest, sturdy branches that form the tree’s structure. These should be spaced 8-12 inches apart along the trunk. If any are too close together, thin one out to reduce competition for nutrients.
For plum trees, I like to keep a slightly open center—this allows sunlight to reach the inner branches, which is where many of the fruit clusters form. Avoid over-pruning; you’re not trying to turn your plum tree into a bonsai. Just enough to create an airy, balanced shape. If a branch is growing straight up, you can shorten it slightly to encourage outward growth.
🪴 Step 4: Prune for Fruit Clusters and New Growth
Plum trees produce fruit on one-year-old wood, so focus on branches that grew last season. Shorten these branches by about one-third to encourage the development of new, fruiting wood. Cut just above a bud that faces outward—this helps the tree grow in a more open, productive shape.
If you see any suckers (shoots growing from the base of the tree), remove them completely. These drain energy from the main tree. Also, avoid pruning during wet weather—wet cuts can invite fungal infections. If you’re pruning on a rainy day, wait until the branches are dry or sterilize your tools with rubbing alcohol.
⏰ Step 5: Clean Up and Monitor Your Tree
After pruning, gather all the clippings and dispose of them in a sealed bag or burn them—never leave them on the ground. This prevents diseases from spreading back to the tree. Once you’ve finished, give your plum tree a deep watering to help it recover from the pruning stress.
Keep an eye on the tree over the next few weeks. You should see new growth emerging from the pruned branches within 2-4 weeks. If you notice any signs of stress—like wilting leaves or oozing sap—it might be reacting to the pruning. In that case, hold off on further cuts and focus on keeping the soil moist and the tree well-fed with a balanced fertilizer.
Tips & tricks for spring plum tree pruning
Here’s what nobody tells you about pruning that’ll make all the difference for your plum tree’s health and fruit production.
The Tool Factor: Never use dull pruning shears—they crush branches instead of making clean cuts. I’ve seen too many home gardeners struggle with jagged edges that invite disease. Invest in a good pair of bypass pruners (the kind with curved blades) for branches up to ½-inch thick, and a pruning saw for thicker branches. Sharpen your tools before you start—it’s worth the 5-minute effort to avoid damaging the tree.
Timing Secret: The 2-4 week window for new growth to appear after pruning is your best indicator of success. If you don’t see fresh green shoots emerging within this time, your cuts might have been too severe or the tree is under stress. A light application of balanced fertilizer (10-10-10) right after pruning can give your tree a helpful boost during this recovery period.
Visual Cue for Step 2: When thinning branches in Step 2, hold your hand up to the tree and look for branches that would block sunlight from reaching your palm. These are the ones to remove. The goal is to create an open vase shape—imagine sunlight streaming through the center like a spotlight. This simple trick helps me visualize the perfect spacing without overthinking it.
Cleanup Wisdom: After pruning, don’t just toss those clippings in the yard—they can harbor fungal spores that might reinfect your tree. I either burn them or seal them in heavy-duty trash bags for yard waste pickup. And here’s a pro move: if your tree is healthy, you can chop the larger branches into small pieces and use them as mulch around the base—just keep them a few inches away from the trunk to prevent rot.
Pro Tips for Plum Tree In Spring
- Here’s what nobody tells you about pruning that’ll make all the difference for your plum tree’s health and fruit production.
- The Tool Factor: Never use dull pruning shears—they crush branches instead of making clean cuts.
- Timing Secret: The 2-4 week window for new growth to appear after pruning is your best indicator of success.
Frequently asked questions
Got questions about pruning your plum tree in spring? You're not alone! Here are some of the most common concerns—and their answers—to help you get started with confidence.
When is the exact best time to prune a plum tree in spring?
The ideal window is late winter to early spring, right after the last frost but before buds break (usually February–March in most U.S. zones). Pruning too early risks frost damage, while waiting too long may stress the tree. Check your local frost dates for precision!
Should I remove all the dead branches at once, or space them out?
Remove all dead, diseased, or crossing branches immediately—they can harbor pests or block sunlight. For larger cuts, prune in stages over a few days to reduce stress. Pro tip: Sterilize tools with rubbing alcohol between cuts to prevent spreading disease.
Will pruning my plum tree reduce next year’s fruit?
Not if done correctly! Pruning opens the canopy to sunlight and air, which actually boosts fruit production by improving flower development. Just avoid over-pruning—never remove more than 25% of the tree’s foliage in one season.
Can I prune a young plum tree the same way as an older one?
Nope! Young trees (under 3 years) need light shaping to encourage a strong structure, while mature trees (5+ years) benefit from rejuvenation cuts. For young trees, focus on removing water sprouts and weak branches. Older trees may need thinning cuts to improve airflow.
What do I do if my plum tree starts bleeding sap after pruning?
Sap bleeding is normal but can attract pests. To minimize it, prune on a dry day and make cuts just outside the branch collar (the swollen area at the branch’s base). Seal larger wounds with pruning sealant if needed—but only for cuts wider than ½ inch.
Are there plum tree varieties that don’t need much pruning?
Yes! Dwarf varieties (like ‘Santa Rosa’ or ‘Methley’) require minimal pruning due to their compact growth. Even standard varieties can be low-maintenance if you prune lightly each year to remove only dead/diseased wood. Check your tree’s tags for care tips!
Wrapping up and next steps
Spring is your plum tree’s golden opportunity to shape its future—and with the right pruning, you’re not just trimming branches, you’re crafting a fruit-filled masterpiece. 🌸 From clearing winter damage to encouraging vibrant blooms, every snip is a step toward a bountiful harvest. Don’t wait! Grab your tools, step outside, and give your tree the care it deserves—your future plums will thank you.
Ready to transform your tree? Start by reviewing your tools and browsing common questions to tackle any last-minute doubts. Then, roll up your sleeves and watch your plum tree thrive!