
Pruning
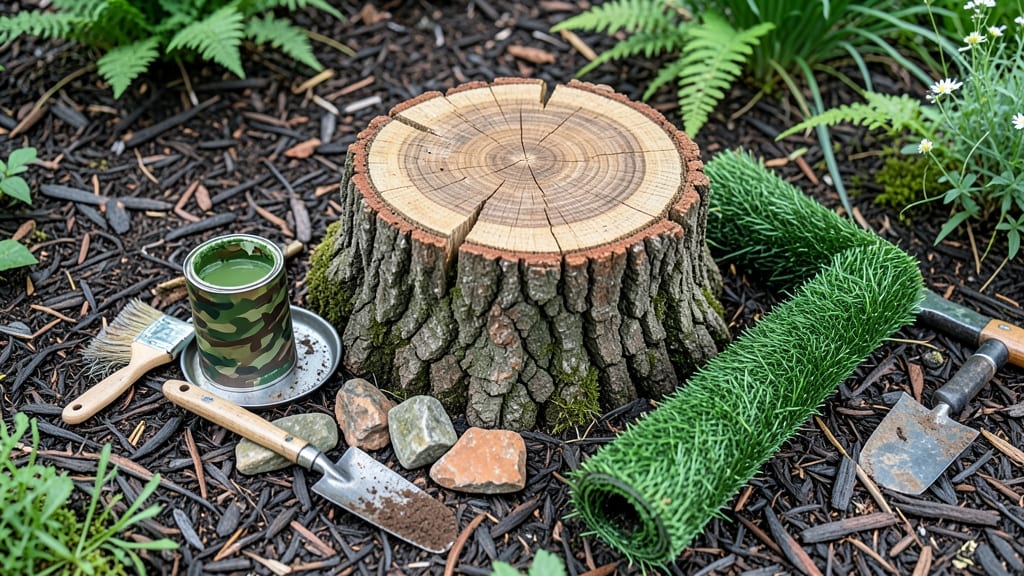
That disguised tree stump isn’t an eyesore—it’s a blank canvas for garden art. ✨ I’ve turned stumps into whimsical toadstools, rustic planters, and even mini fire pits, all while keeping my yard looking intentional (not like I forgot to remove it).
The key is matching the stump’s size and shape to a design that feels natural, not forced.
You don’t need fancy tools—just a few supplies like outdoor paint, weatherproof planters, or even living moss sheets. For a quick win, wrap the stump in a pre-cut wooden circle and top it with a potted fern or ornamental grass.
Or go bold with stenciled designs: think geometric patterns, floral motifs, or even a custom family crest if you’re feeling playful.
The results are surprisingly transformative. A once-unwanted stump becomes a focal point—maybe a fairy garden, a pollinator haven, or a cozy seating nook. The best part? It’s zero-waste if you use natural materials like stones, logs, or climbing vines to soften the edges.
Plus, it saves you the hassle (and cost) of stump grinding.
Works for any yard style, from cottage gardens to modern landscapes. Whether you DIY it in an afternoon or hire a local artist for a custom piece, your stump will soon be the star of the show—not the afterthought. Ready to get creative?
📚 In This Guide
- What you need
- Instructions
- Tips and common mistakes
- Wrapping up and next steps
What you need
- ● Main Stump: A freshly cut tree stump (preferably at least 6–12 inches in diameter for stability).
- ● Safety Gear: Work gloves (heavy-duty, waterproof)
- ● Safety goggles
- ● Dust mask or respirator (for sanding/painting)
- ● Cleaning/Sanding Supplies: Wire brush or stiff-bristle brush
- ● Sandpaper (80-grit and 120-grit) or an electric sander
- ● Mild detergent + water (for deep cleaning)
- ● Disguise Base: Outdoor paint (acrylic or latex, non-toxic if near edible plants)
- ○ Stain or sealant (optional but recommended for weatherproofing)
- ● Paintbrushes (varied sizes, including a detail brush)
- ● Creative Add-Ons (Pick 1–2): Moss or faux moss sheets (for a natural, woodland look)
- ● Decorative stones (river rocks, pebbles, or mosaic tiles)
- ● Wood carving tools (if etching designs)
- ● Glitter or metallic paint (for a magical touch)
- ● Stencil kit (for precise patterns)
- ● Spray sealant (to protect painted designs)
- ● LED solar lights (for evening ambiance)
- ● Wood filler (to smooth rough edges)
- ● Pallet or tray (to contain paint drips)
Creative techniques to transform tree stumps into garden art
Here’s how to turn an eyesore into a stunning focal point using simple yet striking methods.
🪴 Step 1: Clean and Prep the Stump for Stability
Start by removing any loose bark or debris with a pruning saw or chisel—this creates a smooth canvas for your design. I like to work when the stump is dry so the wood doesn’t slip under my tools. Sand down rough edges with 80-grit sandpaper to prevent splinters, then wipe away dust with a damp cloth. This step ensures your finished piece lasts seasons without peeling or cracking.
Check for rot or soft spots by pressing firmly with your thumb. If the wood gives way, reinforce weak areas with wood filler and let it cure completely. A stable base is critical—if your stump wobbles, even the best paint job won’t hold up. I’ve seen stumps topple after heavy rain because they weren’t properly secured.
☀️ Step 2: Choose a Design That Matches Your Garden’s Vibe
Select a theme that complements your landscape. For a rustic look, I often use stencils of leaves or vines painted with earthy tones like burnt umber or moss green. If your garden leans modern, geometric patterns in bold colors—think navy blue or charcoal gray—create a striking contrast. Sketch your design lightly in pencil first to visualize proportions before committing to paint.
Consider the stump’s natural shape as part of the art. A wide, flat top becomes a perfect canvas for a mosaic of broken tiles or a sunburst pattern, while a tapered stump might suit a vertical stripe design that follows its curves. Take photos of your stump from multiple angles to plan how the design will flow from every perspective.
🎨 Step 3: Apply Your Design with Weather-Resistant Materials
For painted designs, use exterior-grade acrylic paint in colors that won’t fade under UV exposure. Seal the paint with a clear outdoor polyurethane varnish to protect it from moisture and sun damage. I apply two thin coats, letting each dry for 4-6 hours between layers. Thick paint builds up and cracks over time—better to layer lightly and build durability.
If you’re going for a natural look, moss or ivy works beautifully. Soak live moss in water for 15-20 minutes before pressing it into dampened crevices. Secure it with hydroseeding spray and cover the stump with a breathable fabric for 3-5 days to encourage rooting. For a low-maintenance option, weatherproof stencils or vinyl wraps let you swap designs seasonally without repainting.
✂️ Step 4: Add Finishing Touches for Texture and Depth
Enhance your stump’s three-dimensional appeal with carved details. Use a Dremel tool to etch initials, simple shapes, or even a miniature garden scene into the wood. For a softer texture, apply wood-burning techniques to create shadows and highlights. I’ve seen stumps transformed into whimsical toadstools or abstract sculptures this way—let your creativity guide you.
Add functional elements like a small planter on top (use a terracotta pot filled with succulents) or shelves carved into the sides to display garden tools. For a magical touch, embed glowing solar lights into the design. Test-fit all additions before securing them—you don’t want to drill into a rotten section and ruin your hard work.
🌿 Step 5: Maintain and Refresh Your Stump Art
Inspect your stump twice a year—spring and fall—to check for peeling paint, loose moss, or cracks. Touch up paint with a small brush and fresh varnish as needed. If moss dries out, mist it with water during dry spells. I’ve kept stump art looking fresh for 5+ years with minimal upkeep, mostly by acting quickly when I spot wear.
Rotate seasonal designs by swapping out vinyl wraps or stencils. For painted stumps, plan a full repaint every 2-3 years to prevent weather damage. Store extra paint and supplies in a waterproof container near your garden shed for easy access. A well-maintained stump art piece becomes a cherished garden feature that evolves with your space.
Tips & tricks for perfect tree stump disguise
Between us, these little details make all the difference between a temporary fix and a lasting garden masterpiece.
Prep Like a Pro: In Step 1, when you're removing loose bark, don't rush—take your time to create a perfectly smooth surface. I've found that using an electric sander for the initial rough sanding (after removing the bulk with a chisel) saves hours of elbow grease. Just be sure to wear a dust mask; those wood particles are no joke. The extra effort here prevents splinters and ensures your paint or moss will adhere beautifully. Trust me on this: rough surfaces always show through over time.
Design Planning Secret: Before committing to paint or carving in Step 2, I recommend creating a full-scale sketch on paper first. Trace the stump's dimensions and experiment with patterns—this helps you visualize how the design will flow around natural imperfections. For instance, if your stump has a natural curve, a vertical stripe design might look awkward when transferred directly. I've ruined three stumps this way before learning to plan ahead. Pro tip: Use painter's tape to mark your design directly onto the stump before cutting or painting.
Weatherproofing Wisdom: When applying paint in Step 3, remember that exterior-grade acrylic paints are your best friend—but only if you use them correctly. The instructions mention two thin coats with 4-6 hours drying time between layers. Here's what nobody tells you: paint in the shade on a cool (60-70°F) day to prevent the paint from drying too quickly. If you paint in direct sunlight, the top layer will dry before the bottom, causing peeling. I learned this after my first summer's worth of peeling paint jobs. Also, always seal with polyurethane—it's the difference between a 1-year project and a 5-year one.
Moss Maintenance Magic: For those going the natural route with moss in Step 3, here's the real talk: store-bought moss kits often contain dried moss that won't take. Live moss is worth the extra effort. Collect it from shady, damp areas in your yard or buy it from a nursery. After pressing it into dampened crevices, keep the stump consistently moist for the first 3-5 days using hydroseeding spray. I've seen moss designs last for years with this method—just don't let it dry out completely during the initial rooting period.
Pro Tips for Disguise Tree Stump
- Between us, these little details make all the difference between a temporary fix and a lasting garden masterpiece.
- Prep Like a Pro: In Step 1, when you're removing loose bark, don't rush—take your time to create a perfectly smooth surface.
- Design Planning Secret: Before committing to paint or carving in Step 2, I recommend creating a full-scale sketch on paper first.
Frequently asked questions
Got questions about transforming a tree stump into a stunning garden feature?
You’re not alone! Here are answers to the most common queries—from practical tips to creative troubleshooting—to help you get started with confidence.
What’s the best material for disguising a tree stump?
Choose materials that match your garden’s aesthetic and durability needs. Wood carvings (like benches or sculptures) or painted designs (e.g., floral patterns) are popular. For a rustic look, try moss or ivy, while metal planters or stone seating add modern flair. Always opt for weather-resistant finishes!
How long does it take to disguise a tree stump?
Timing depends on the project! A simple paint job takes 1–2 hours (plus drying time), while carving or installing a planter may require a full day. Moss or ivy takes weeks to grow into place. Plan ahead—some designs (like stump grills) need extra prep for safety and stability.
Can I paint a tree stump without it peeling?
Start by cleaning and sanding the stump to remove debris. Apply a primer designed for wood (like exterior-grade stain or sealant), then use outdoor acrylic paint. Seal with a waterproof polyurethane to prevent peeling. Pro tip: Use a stencil for crisp designs!
What if my stump is too small or uneven?
No worries! Uneven stumps can still shine—use leveling pads or adjustable planters to create a stable base. For tiny stumps, try miniature garden art (like fairy houses) or vertical gardens. If the stump is rotting, consider filling the top with soil and planting flowers for a natural disguise.
Are there low-maintenance alternatives to carving or painting?
Yes! Skip the DIY and try these easy, low-effort options:
- Stump covers: Pre-made metal or plastic wraps that snap on.
- Living stump planters: Fill the top with soil and add succulents or herbs.
- Decorative stakes or trellises: Lean them against the stump for instant style.
- Mulch or bark: Pile it around the base for a natural, blended look.
Wrapping up and next steps
Transforming a tree stump into a stunning garden feature is easier—and more rewarding—than you think! With a little creativity and the right materials, you can turn an eyesore into a focal point that enhances your outdoor space.
Whether you choose a whimsical mushroom, a rustic planter, or a modern sculpture, your stump disguise will not only save you money but also spark joy every time you step into your garden.
Ready to get started? Grab your tools, pick your design, and let your imagination run wild! 🌿✨ Next up: Sketch your vision, gather supplies, and dive into the fun—your garden’s next masterpiece awaits!