Pruning
All green tree care transforms struggling trees into lush, vibrant giants—no matter what kind of green thumb you have. 🌿 I’ve spent years watching trees go from bare branches to dense canopies just by making a few simple cuts at the right times, and the difference is shocking. The key isn’t just trimming wilted limbs; it’s understanding how each season affects growth, so you’re always working with the tree, not against it.
You don’t need fancy tools or decades of experience—just sharp pruners, a clear day, and a basic grasp of where to cut. Start with the 3-D rule: remove dead, diseased, or crossing branches first, then shape the rest for airflow and sunlight.
Even a single session in late winter can set your tree up for healthier growth all year, and summer pruning keeps it from getting overcrowded before winter.
By the end of this, your trees will look like they’ve been professionally tended—thicker foliage, fewer weak branches, and that neighbor-jealousy green you’ve always wanted. The best part? You’ll spot problems early, like pests or fungal spots, before they take over. Let’s get those branches looking intentional.
Works for everything from young saplings to mature oaks, and I’ll cover what to avoid (like over-pruning in fall) so you don’t accidentally stress your trees. Ready to turn your yard into a thriving green space?
📚 In This Guide
- What you need
- Instructions
- Tips and common mistakes
- Wrapping up and next steps
What you need
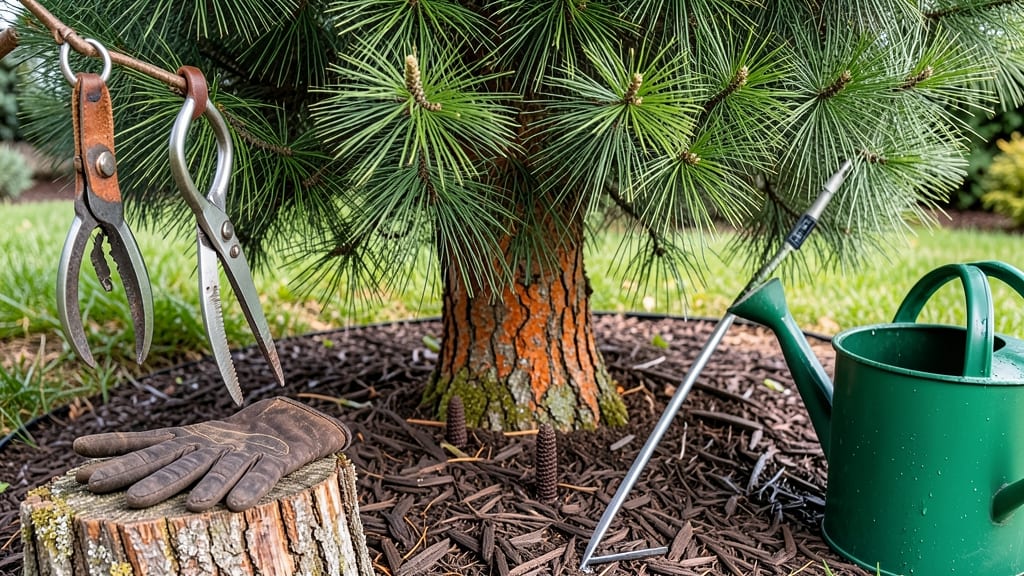
- ● Pruning Shears: Bypass shears (for small branches, ¼”–¾” thick) and anvil shears (for thicker branches, up to 1½” thick). Pro tip: Keep blades sharp and sanitized with rubbing alcohol to prevent disease spread! 💡
- ● Loppers: Long-handled (24–36”) for medium branches (1–3” thick). Look for ratcheting or bypass styles for ease.
- ● Pruning Saw: Curved-tooth saw for branches 3”+ in diameter. A folding pruning saw is ideal for hard-to-reach spots.
- ● Pole Pruner: Extendable (8–12’), for high branches. Opt for a bypass model to avoid crushing.
- ● Work Gloves: Heavy-duty, cut-resistant (e.g., Mechanix or Wells Lamont) to protect hands from thorns and splinters.
- ● Ladder: Extension ladder (16–24’) rated for 375+ lbs. Use stabilizer feet and a spotter for safety.
- ○ Disposable Pruning Bags: 3–5 gallon capacity to collect debris. Optional: A leaf blower for quick cleanup.
- ● Rubbing Alcohol (70%+) or Bleach Solution: 1 part bleach to 9 parts water for sanitizing tools.
- ○ Tree Wound Dressing: Optional for large cuts (e.g., Tanglefoot Tree Wound Pruner). Note: Most arborists skip this—let wounds heal naturally!
- ● Safety Glasses: ANSI-rated to protect against debris.
- ● Ear Protection: For loud chainsaws (if used).
- ● Long Sleeves/Pants: Wear tight-weave fabric to avoid snags.
- ● Weather Check: Avoid pruning when branches are wet (slip risk) or during active storms.
- ● Local Regulations: Check if your area requires a permit for large-scale pruning (common in HOAs or urban zones).
- ● First-Aid Kit: Include bandages, antiseptic wipes, and tweezers for minor injuries.
Instructions for year-round tree pruning
Here's how I keep trees thriving through every season—no special tools, just sharp cuts and smart timing.
🌱 Step 1: Assess the Tree's Health and Structure
Start by examining the tree for any dead, diseased, or crossing branches. Dead branches are brittle and snap easily when bent—these should go first. I look for branches rubbing against each other, as they'll eventually tear bark and create entry points for pests. Use your hands to gently shake each branch; if it rattles or crumbles, it's dead and needs removal.
Next, identify any suckers growing from the base or trunk. These are fast-growing shoots that drain energy from the main tree. Mark these with a small piece of colored tape so you don't accidentally cut them off later. Healthy trees have a strong central leader (main upward-growing branch) and evenly spaced side branches forming a natural vase shape.
✂️ Step 2: Prune for Shape and Airflow
Use clean, sharp pruning shears to make cuts just outside the branch collar—the swollen area where the branch meets the trunk. Cut at a 45-degree angle if the branch is larger than ½ inch in diameter. For smaller branches, a straight cut works fine. Always cut toward the branch you're removing to avoid tearing the bark.
Remove branches that grow inward or downward to improve airflow and sunlight penetration. Thin out crowded areas by cutting back to the nearest outward-growing branch or bud. I like to step back every few cuts to visualize the tree's shape—this helps me spot areas that need more thinning. Never remove more than 25% of the tree's foliage in one session, as this stresses the tree.
☀️ Step 3: Seasonal Pruning Adjustments
In late winter or early spring (just before buds swell), focus on removing dead wood and shaping the tree. This is the best time because the tree is dormant, and you can see the structure clearly. Avoid heavy pruning in fall, as it encourages new growth that won't harden off before winter.
During summer, prune only to remove dead or diseased branches or to thin out dense areas. Light pruning in summer helps maintain the tree's natural shape without stressing it. If you notice water sprouts (fast-growing vertical shoots), trim them back to a lateral branch to encourage a fuller canopy. Always sterilize your tools with rubbing alcohol between cuts to prevent spreading disease.
🪴 Step 4: Post-Pruning Care
After pruning, inspect the tree for any large wounds. If a cut is bigger than ½ inch, seal it with pruning sealant to prevent decay. For smaller cuts, let the tree heal naturally—sealants aren't necessary and can sometimes trap moisture. Water the tree deeply if the weather has been dry, especially if you've done significant pruning.
Keep an eye on the tree over the next few weeks. New growth should appear within 2-4 weeks if the tree is healthy. If you notice yellowing leaves, wilting, or oozing sap, the tree may be stressed or infected. In that case, adjust your watering or consult a local arborist for advice. Mulch around the base of the tree (but keep it 3-4 inches away from the trunk) to retain moisture and regulate soil temperature.
Tips & tricks for perfect year-round tree pruning
Here's what I've learned after years of pruning—these little details make all the difference between a tree that thrives and one that struggles.
Tool Prep is Everything: Before you even touch a branch, sterilize your pruning shears with rubbing alcohol between cuts. I keep a small bottle in my tool belt and wipe them down after every 3-4 cuts. This prevents spreading disease from one branch to another. Also, sharpen your blades regularly—dull tools tear bark instead of making clean cuts, which invites infection. A simple file or honing stone keeps them razor-sharp for years.
Visualize the Final Shape: In Step 2, when you're thinning branches, step back every 5-6 cuts to visualize the tree's silhouette. I pretend I'm looking at it from a distance through a camera lens—this helps me spot uneven areas. The goal is to maintain the tree's natural shape while improving airflow. Think of it like sculpting: you're removing material to reveal the form underneath, not just hacking away randomly.
Seasonal Timing Secrets: The late winter/early spring window (just before buds swell) is your best time for major pruning because the tree is dormant. I've found that pruning in summer should be minimal—just remove dead wood or diseased branches. Heavy summer pruning can stress the tree and make it vulnerable to pests. If you must prune in summer, do it on a cloudy day to reduce water loss through the fresh cuts.
Post-Pruning Recovery: After you've finished, don't just walk away! Water the tree deeply if it's been dry, especially after removing more than 15% of the foliage. I've seen trees recover beautifully when given proper care after pruning. Keep an eye out for new growth appearing within 2-4 weeks—this is your sign that the tree is healing well. If you notice yellowing leaves or oozing sap, that's the tree's way of saying it's stressed and needs some extra TLC.
Pro Tips for All Green Tree Care
- Here's what I've learned after years of pruning—these little details make all the difference between a tree that thrives and one that struggles.
- Tool Prep is Everything: Before you even touch a branch, sterilize your pruning shears with rubbing alcohol between cuts.
- Visualize the Final Shape: In Step 2, when you're thinning branches, step back every 5-6 cuts to visualize the tree's silhouette.
Frequently asked questions
Got questions about keeping your trees thriving with all-green tree care? You’re not alone! Here are some of the most common queries—plus straightforward answers to keep your trees lush and healthy year-round.
When is the best time to prune for year-round growth?
Pruning can happen year-round, but timing matters! Light pruning (like removing dead branches) is safe anytime. For major shaping or growth stimulation, late winter to early spring (just before new growth starts) is ideal. Avoid heavy pruning in fall—it can stress trees before winter dormancy.
How do I know if I’m pruning correctly?
Look for these signs of proper pruning: clean cuts (no tears), open branch collars (never cut flush), and balanced shape. If you’re unsure, start small—remove only 10-20% of the canopy in one session. Over-pruning can weaken trees. When in doubt, consult a local arborist!
Can I prune my own tree, or should I hire a pro?
Small tasks (like trimming low branches) are DIY-friendly with the right tools. But for large trees, power lines, or complex pruning, hire a certified arborist. Pros have the expertise to spot diseases, structural risks, and species-specific needs—saving you time (and potential headaches)!
What if my tree looks stressed after pruning?
Stress is normal post-pruning, but watch for excessive leaf drop, oozing sap, or wilting. If these persist, you may have over-pruned or cut into the cambium layer. To help recovery, water deeply, avoid fertilizing, and keep an eye out for pests. Most trees bounce back in a few weeks!
Are there eco-friendly alternatives to traditional pruning?
Yes! Try drop crotching (removing entire branches at the trunk) or pollarding (hard pruning for structural control). For minimal waste, use pruned branches as mulch or compost. Just ensure cuts are made correctly to avoid disease. Pro tip: Leave some natural branch layers for wildlife habitats!
Wrapping up and next steps
Your trees deserve the best care, and with all-green tree care, you’re well on your way to fostering lush, vibrant growth year-round! 🌿 Pruning isn’t just seasonal—it’s an ongoing commitment that strengthens your trees, enhances their beauty, and keeps them thriving for decades.
Whether you’re a seasoned gardener or just starting, every trim brings you closer to a healthier landscape.
Ready to take the next step? Schedule a professional inspection or grab your tools and tackle a small project today. Your trees—and your future green oasis—will thank you!