
Pruning
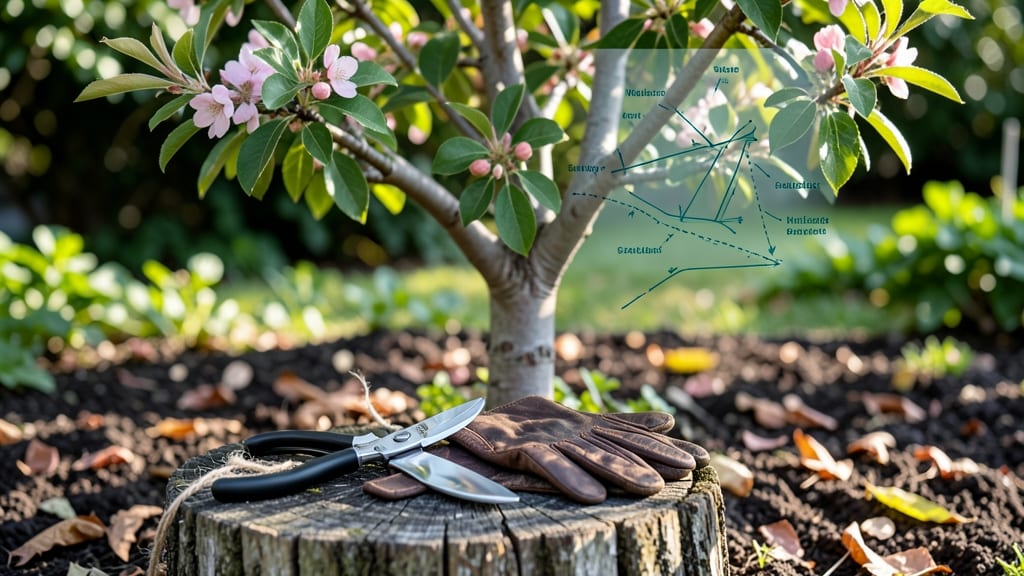
Pruning a small peach tree using a pruning diagram isn’t about perfect symmetry—it’s about health, airflow, and fruit potential. 🌿 I’ve watched my backyard peach struggle with tangled branches and fungal spots until I learned the right cuts.
The key is timing (dormant season) and technique (never removing more than 25% of the canopy), but even beginners can master it with the right diagram.
You’ll need sharp pruners (sanitized with rubbing alcohol), a saw for thicker branches, and a sketchpad or printed diagram to mark cuts before you start.
The goal is to open up the center for sunlight and air, remove dead wood, and shape the tree into an open vase form—no more crowded branches fighting for space. Most mistakes come from over-pruning or cutting too close to the trunk.
By summer, you’ll see the difference: stronger branches, fewer diseases, and more fruit than before. The tree will look like it was designed by a pro, not hacked with a chainsaw. We’ll cover exactly where to cut (just outside the branch collar) and how to spot dead wood—no guesswork involved.
This works for any dwarf or semi-dwarf peach tree, whether you’re shaping a new sapling or reviving an overgrown one. Let’s get those branches looking intentional—no more random snips and crossed fingers.
📚 In This Guide
- What you need
- Instructions
- Tips and common mistakes
- Wrapping up and next steps
What you need
- ● Pruning shears: Bypass pruners (sharp, clean, and sized for small branches—4- to 6-inch blades). Avoid anvil pruners to prevent crushing.
- ● Loppers: Bypass-style (for thicker branches up to 1.5 inches in diameter).
- ● Hand saw: Pruning saw (for branches 1.5+ inches thick—look for a curved blade for precision).
- ● Rubbing alcohol (70% or higher): For sterilizing tools between cuts (prevents disease spread).
- ● Disposable gloves: Nitrile or leather (to protect hands from thorns and sap).
- ● Twine or zip ties: For temporary support if removing large branches.
- ○ Marking twine or tape: To identify branches to remove (optional but helpful for complex pruning).
- ● Pruning sealant: (e.g., Tanglefoot Tree Wound Pruning Seal) to coat large cuts (controversial—skip if your tree is healthy!).
- ● Ladder or step stool: For reaching higher branches safely (ensure it’s stable and non-slip).
- ● Spray bottle with water: To clean tools mid-pruning and reduce sap buildup.
- ● Notebook & pen: To sketch your pruning plan or note branch directions (great for beginners!).
- ● Safety glasses: If working near your face or in dusty conditions.
Step-by-Step visual guide to pruning your small peach tree
Here’s how to shape your peach tree for strong growth and sweet fruit—no guesswork, just clear cuts.
🌿 Step 1: Identify the Right Tools and Timing
Grab your clean, sharp pruning shears (sterilized with rubbing alcohol to prevent disease) and pruning saw for thicker branches. The best time to prune peaches is late winter or early spring—just before buds swell but before new growth starts. This ensures your tree heals quickly and focuses energy on fruiting. Avoid pruning in fall, as late cuts invite disease and pests to overwinter in fresh wounds.
Real talk: If you missed the winter window, prune in early summer after harvest, but keep cuts minimal. Peaches are sensitive to heavy pruning when they’re already stressed by fruit production. I always mark my calendar for February 15th—that’s my target date in most climates.
✂️ Step 2: Remove Dead, Diseased, or Crossing Branches First
Start by scanning your tree for dead wood (branches that snap when bent or have no bark) and diseased branches (black spots, oozing sap, or fungal growth). Cut these out completely to the trunk or a healthy lateral branch—never leave stubs. Next, look for branches rubbing against each other (crossing branches). These create wounds that invite rot and pests. Remove the weaker of the two, cutting at a 45-degree angle just outside the branch collar (the swollen area where the branch meets the trunk).
I know it seems harsh, but think of this as surgery—you’re making space for stronger growth. If a branch is less than ½ inch thick, your shears will handle it; thicker branches need the saw. Always cut just outside the branch collar—this is where the tree’s healing tissues live.
☀️ Step 3: Open the Tree’s Center for Sun and Airflow
Peach trees need sunlight and airflow to prevent fungal diseases like brown rot. Your goal is to create an open vase shape—think of a candelabra with branches spaced evenly. Start at the center of the tree and remove upward-growing branches (called "watersprouts") that block light. Cut these back to a side branch or bud facing outward. For thicker branches, make your cut just above an outward-facing bud to encourage new growth in the right direction.
Here’s the thing—don’t overdo it. You’re aiming for 25-30% of the tree’s total branches removed, not more. If you see a branch growing straight up from the trunk (called a "leader"), leave it if it’s strong, but thin out competing branches around it. Your tree should look like it’s reaching for the sky, not huddling in a dense ball.
🌱 Step 4: Shape for Fruit Production and Structure
Now focus on fruit-bearing branches. Peaches produce fruit on 1- to 3-year-old wood, so avoid cutting back these branches unless they’re damaged. Instead, prune to encourage new growth by cutting just above a healthy bud that faces the outside of the tree. For branches longer than 12 inches, shorten them by ⅓ to promote bushier growth. If a branch is too long, make your cut at a 45-degree angle to prevent water from pooling in the wound.
Pay attention to the scaffold branches (the main limbs forming the tree’s structure). These should be spaced 6-12 inches apart along the trunk. If you have too many competing for space, remove the weaker ones. I like to step back every few cuts to visualize the tree’s shape—it’s easier to see what’s missing than what’s already there.
⏰ Step 5: Clean Up and Protect Your Tree
After pruning, remove all debris from under the tree—this includes fallen branches, leaves, and clippings. Pile them in a trash bag and dispose of them far from your garden to prevent disease spread. Next, sterilize your tools again with rubbing alcohol to kill any lingering spores. Finally, apply a wound sealant (like pruning paint) only to cuts larger than ½ inch—smaller cuts heal better on their own.
Here’s a pro tip: If your tree is young (under 3 years old), focus on structural pruning—getting those scaffold branches in place. Mature trees need renewal pruning to replace old wood. Water deeply after pruning to help the tree recover. You’ll see new growth within 2-4 weeks—that’s your signal everything’s working.
Tips & tricks for perfect peach tree pruning
Don't let pruning intimidation get in your way—these practical tips will help you shape your peach tree like a pro.
Tool Prep Matters: Sterilize your pruning shears and saw with rubbing alcohol before and after each use, especially if you're working with multiple trees. I've seen fungal diseases spread just from using the same tools without cleaning—don't make my mistake! For thicker branches in Step 2, use the pruning saw to make clean cuts that heal faster. Always wipe down tools with a damp cloth after sterilizing to remove any alcohol residue that could damage metal over time.
Visualizing the Vase Shape: In Step 3, when you're removing those upward-growing watersprouts, imagine your tree as a candelabra. Each branch should have space around it—about 12 inches between branches is ideal. I like to step back every few cuts and look at my tree from different angles. If you're unsure about a cut, snap a photo first—you can always compare it to your reference photos later. The goal is sunlight reaching all parts of the tree, not just the outer edges.
Branch Collar Awareness: This is the critical detail in Step 2 that most beginners miss. When making any cut, locate the branch collar—the swollen area where the branch meets the trunk. Make your cut just outside this collar, never inside it. I've seen too many trees develop cankers because people cut too close to the trunk. The collar contains healing tissues that help the tree recover. For branches thicker than ½ inch, use your pruning saw to make the cut at this precise location.
Seasonal Adjustments: The late winter/early spring timing in Step 1 is ideal, but if you're working with a young tree (under 3 years old), you can do light pruning in early summer after harvest. Just remember to keep cuts minimal—peach trees are sensitive to stress. For mature trees, renewal pruning in late winter is best. If you must prune in summer, focus only on removing diseased branches and never cut more than 25% of the tree's branches at once. The tree needs time to recover between pruning sessions.
Pro Tips for Small Peach Tree Pruning Diagram
- Don't let pruning intimidation get in your way—these practical tips will help you shape your peach tree like a pro.
- Tool Prep Matters: Sterilize your pruning shears and saw with rubbing alcohol before and after each use, especially if you're working with multiple trees.
- Visualizing the Vase Shape: In Step 3, when you're removing those upward-growing watersprouts, imagine your tree as a candelabra.
Frequently asked questions
Got questions about pruning your small peach tree? You’re not alone! Here are answers to the most common concerns to help you prune like a pro.
When is the best time of year to prune a small peach tree?
The ideal time is late winter or early spring, before buds break. This ensures minimal stress on the tree while removing damaged or weak branches. Avoid pruning in fall, as it can encourage new growth that may not survive winter. For container-grown peach trees, prune in late winter too, but avoid heavy cuts in fall.
How do I know which branches to cut on my peach tree?
Focus on removing:
- Dead or diseased branches (look for brown, brittle wood or fungal spots).
- Crossing or rubbing branches (they can create wounds and invite pests).
- Suckers (shoots growing from the base or roots).
- Weak or inward-growing branches (they compete for sunlight and energy).
Can I prune my peach tree in summer? What are the risks?
Summer pruning is possible, but it’s riskier. Heavy cuts in hot weather can stress the tree, making it vulnerable to sunburn or disease. If you must prune, do it early in the morning to reduce stress. Limit cuts to removing only diseased or damaged branches—avoid shaping. Always sterilize your tools to prevent infections.
Will pruning my peach tree reduce fruit production?
Not if done correctly! Proper pruning improves fruit quality by:
- Increasing airflow (reduces fungal diseases like brown rot).
- Encouraging stronger growth (more energy for fruit production).
- Opening the canopy (better sunlight penetration for sweeter peaches).
What should I do if my peach tree starts bleeding sap after pruning?
Sap bleeding is normal for peach trees and usually harmless. To minimize it:
- Prune on a cool, cloudy day (not in freezing temps).
- Avoid pruning in late winter if frost is forecasted.
- Seal cuts with pruning sealant (optional, but helpful for large wounds).
Wrapping up and next steps
Mastering the art of pruning your small peach tree doesn’t have to be intimidating—with the right diagram and techniques, you’ll soon be shaping a thriving, fruit-bearing tree! 🌱 The key takeaways? Timing is everything (late winter or early spring), focus on open centers for airflow, and use sharp tools to avoid damage.
Now that you’re armed with knowledge, grab those pruners and give your tree the care it deserves!
Ready to take the next step? Monitor your tree’s growth after pruning—adjust as needed, and soon, you’ll be rewarded with juicy peaches and a picturesque backyard centerpiece. Happy pruning! 🌟