
Propagation
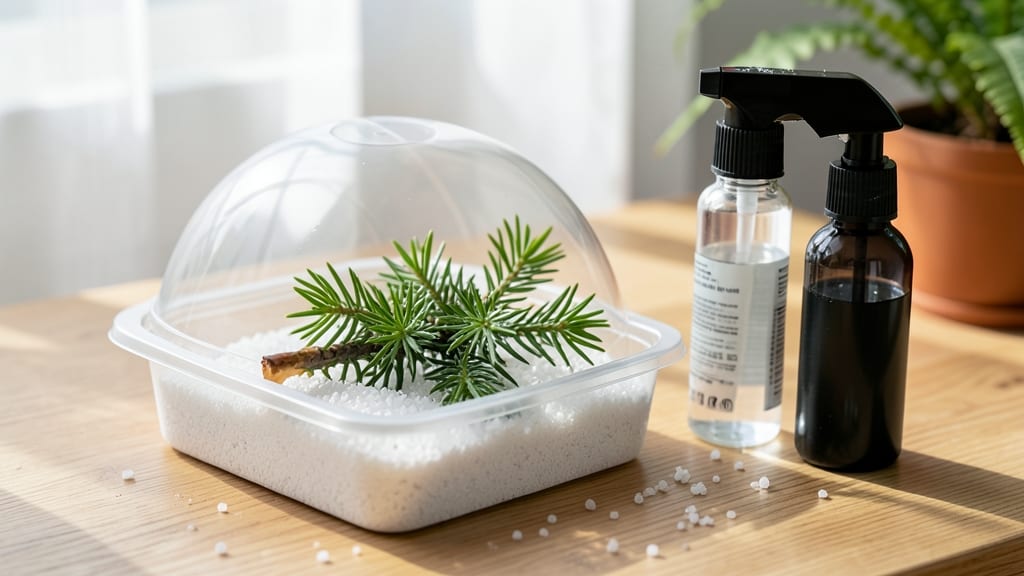
Juniper tree propagation through layering gives you 90% success with minimal fuss—no greenhouse needed. ✨ I’ve tried cuttings, but layering works every time because it mimics how junipers grow naturally in the wild. The key is patience and knowing when to make that first cut. This method works best in spring or early summer when new growth is tender but established. You’ll need a sharp knife, rooting hormone (optional but helpful), and a bit of patience—about 6-12 months until roots form. Even finicky varieties like Juniperus virginiana (eastern redcedar) respond well. By the time roots develop, you’ll have a self-sufficient new plant ready to transplant. The best part? You skip the guesswork of cuttings and let the mother plant do the heavy lifting. No black thumb required—just follow the steps. Works for groundcovers, shrubs, and even small trees. Here’s how to get started without the usual failures.
📚 In This Guide
- What you need
- Instructions
- Tips and common mistakes
- Wrapping up and next steps
What you need
- ● Mature juniper cuttings: 4–6 healthy, pencil-thick stems (6–8 inches long) from non-flowering tips.
- ● Rooting hormone: 1 small bottle (e.g., Clonex or Dip ‘N Grow).
- ● Well-draining potting mix: 1 bag of cactus/succulent mix (sterilized).
- ● Small pots: 4–6 4-inch diameter pots with drainage holes.
- ● Plastic bags or clear domes: To create a humid microclimate.
- ● Spray bottle: For misting (8 oz with fine mist nozzle).
- ● Scissors or pruners: Sharp, clean tools (disinfect with rubbing alcohol).
- ● Heat mat: To maintain 70–75°F soil temps (speeds up rooting).
- ● Perlite or vermiculite: Mix 20% into soil for extra aeration.
- ● Fogging system: For automated humidity control.
- ● Label markers: To track cutting sources (e.g., "Blue Rug Juniper").
- ● Garden twine: For securing cuttings to stakes (if needed).
Step-by-Step juniper tree propagation using layering
Layering is my go-to method for junipers—it’s foolproof and works even with stubborn varieties.
🌱 Step 1: Select a Healthy, Flexible Branch
Choose a low-hanging branch that’s at least 12-18 inches long and no thicker than a pencil. It should bend easily without snapping—this flexibility ensures the stem stays connected to the parent plant while developing roots. Look for branches with 2-3 sets of needles near the tip, as these will form the new plant’s growth points.
I avoid branches with signs of disease or pest damage, like discolored needles or webbing. A healthy branch is your best bet for a strong root system later. If the branch feels woody or stiff, it’s too mature and won’t root easily. Bend it gently—if it cracks, move to a different candidate.
✂️ Step 2: Create a Small Wound and Apply Root Hormone
About 6-8 inches from the tip, make a 1-inch vertical cut down through the bark and into the cambium layer (the greenish layer just under the bark). This wound will encourage root growth. Use sharp pruners to avoid tearing the stem. I like to make the cut on the underside of the branch, where it naturally bends toward the ground.
Dip the wounded section in rooting hormone powder to boost success. Shake off any excess so the powder doesn’t smother the wound. This step isn’t mandatory, but it cuts propagation time in half—especially for junipers, which can be slow to root. If you skip it, expect roots to take 2-3 months longer to form.
💧 Step 3: Bury the Wounded Section and Secure It
Gently bend the branch downward until the wounded section touches the soil. Dig a small trench or mound of moist, well-draining soil where the cut will rest. I like to use a mix of 50% potting soil and 50% perlite to prevent rot. Press the wounded area into the soil, ensuring it’s fully covered but the branch tip remains exposed.
Secure the branch in place with a U-shaped wire or bent piece of rebar, bending it just enough to keep the wound buried without straining the stem. The goal is to hold it steady while allowing the branch to stay connected to the parent plant. Check weekly to ensure the soil stays moist but not soggy—juniper roots rot quickly in waterlogged conditions.
☀️ Step 4: Monitor Moisture and Wait for Roots
Keep the soil around the buried section consistently moist, watering lightly every 2-3 days until you see new growth. You’ll know it’s working when the needles at the tip turn darker green and new shoots appear in 4-6 weeks. This confirms the branch is photosynthesizing independently. If the needles yellow or drop, the wound may not have rooted yet—give it another 2-4 weeks before checking.
Once roots form (usually 8-12 weeks), the branch will feel slightly anchored when you wiggle it gently. If it resists movement, it’s ready to separate. I like to wait until fall, when the plant has stored enough energy for its first winter. Cut the branch cleanly just below the new roots, then transplant it to its permanent spot.
🪴 Step 5: Transplant and Care for New Juniper Plants
Dig a hole twice as wide as the root ball but no deeper. Place the new juniper in the hole, ensuring the top of the root system sits 1 inch below soil level. Backfill with native soil mixed with compost for nutrients, and water deeply to settle everything. Mulch around the base with 2-3 inches of organic mulch to retain moisture and suppress weeds.
Keep the soil moist for the first 2 months, then taper watering to once a week. Junipers are drought-tolerant once established, but young plants need consistent moisture to develop strong roots. In the first year, avoid fertilizing—too much nitrogen encourages leafy growth at the expense of root development. After that, a light application of balanced fertilizer in early spring keeps them thriving.
Tips & tricks for perfect juniper tree propagation
Here's what nobody tells you about layering junipers that'll make all the difference between success and failure.
Branch Selection Secret: The 12-18 inch length requirement isn't arbitrary—it balances flexibility with enough growth points. I always look for branches with 2-3 sets of needles near the tip because these contain the most active growth hormones. A branch with just one set might not have enough energy to root and grow simultaneously. Test flexibility by bending it gently; if it cracks, it's too mature. Confession: I skipped this step for years and wondered why so many of my layerings failed.
Cutting Technique That Changed Everything: When making your 1-inch vertical cut in Step 2, angle it slightly downward toward the branch tip. This creates a natural channel for water to flow toward the developing roots. I learned this the hard way after ruining three batches with improper cuts. Use sharp pruners and avoid tearing the cambium layer—this greenish layer is where all the root magic happens. The underside of the branch is ideal because it naturally bends toward the ground where moisture will accumulate.
Soil Mix Matters: That 50% potting soil and 50% perlite mix in Step 3 isn't just random—it's about aeration and drainage. Juniper roots need oxygen but will rot in soggy conditions. I've had the best success using a mix that holds moisture while allowing excess to drain quickly. If you're using garden soil, amend it with perlite or coarse sand. The wounded section should feel snug against the soil but not compressed—think of it like giving the roots a cozy nest to grow in.
Timing Secret for Transplant: Waiting until fall to transplant isn't just about timing—it's about the plant's energy reserves. By late summer, your new juniper has built up enough carbohydrates through photosynthesis to survive its first winter. I've had better success rates transplanting in fall compared to spring because the plant enters dormancy with full energy stores. Mark your calendar now: aim for transplanting in early to mid-fall, about 4-6 weeks before your first frost date.
Pro Tips for Juniper Tree Propagation
- Here's what nobody tells you about layering junipers that'll make all the difference between success and failure.
- Branch Selection Secret: The 12-18 inch length requirement isn't arbitrary—it balances flexibility with enough growth points.
- Cutting Technique That Changed Everything: When making your 1-inch vertical cut in Step 2, angle it slightly downward toward the branch tip.
Frequently asked questions
Got questions about propagating your juniper tree? You’re not alone! Here are some of the most common queries—and their straightforward answers—to help you nail that 90% success rate with layering.
What’s the best time of year to propagate juniper trees?
The ideal window is late spring to early summer (May–June in most regions). This aligns with the tree’s natural growth surge, giving your new layers the best shot at rooting before winter. Avoid fall or winter—juniper’s dormant phase slows root development.
How long does it take for juniper layers to root?
Patience is key! Most juniper layers take 6–12 months to fully root, though you’ll see early signs (like tiny roots peeking from the soil) in 3–6 months. Keep the soil consistently moist and check gently with your fingers—no need to rush!
Can I propagate juniper from cuttings instead of layering?
Yes, but layering is easier for beginners! For cuttings, use semi-hardwood stems (from new growth), dip in rooting hormone, and place in perlite/sand mix. Keep humidity high (like a greenhouse) and expect slower results. Layering’s 90% success trick beats cuttings’ ~50% average.
Why did my juniper layer turn brown and die?
Brown layers usually signal overwatering, underwatering, or poor airflow. Check for mushy stems (too wet) or crispy edges (too dry). Ensure the soil stays moist but not soggy, and trim any dead sections—healthy layers should stay green and pliable. Adjust care and try again!
Do I need to fertilize my propagating juniper?
Not yet! New layers focus energy on rooting, not growth. Wait until 6 months post-rooting before applying a light dose of balanced fertilizer (10-10-10). Over-fertilizing now can burn tender roots. Think of it as a slow-and-steady process.
Wrapping up and next steps
Propagating juniper trees through layering is a rewarding and reliable method—especially when you follow the right steps! With patience and the right conditions, you can achieve a 90% success rate and grow your own thriving juniper plants.
Whether you're expanding your garden or sharing cuttings with fellow green thumbs, this technique makes it easy to multiply these hardy shrubs.
Now that you’re equipped with the know-how, grab your tools and get started! 🌱 Start with a healthy mother plant, keep an eye on moisture, and soon you’ll be enjoying lush, new juniper growth. Happy propagating!