
Pruning
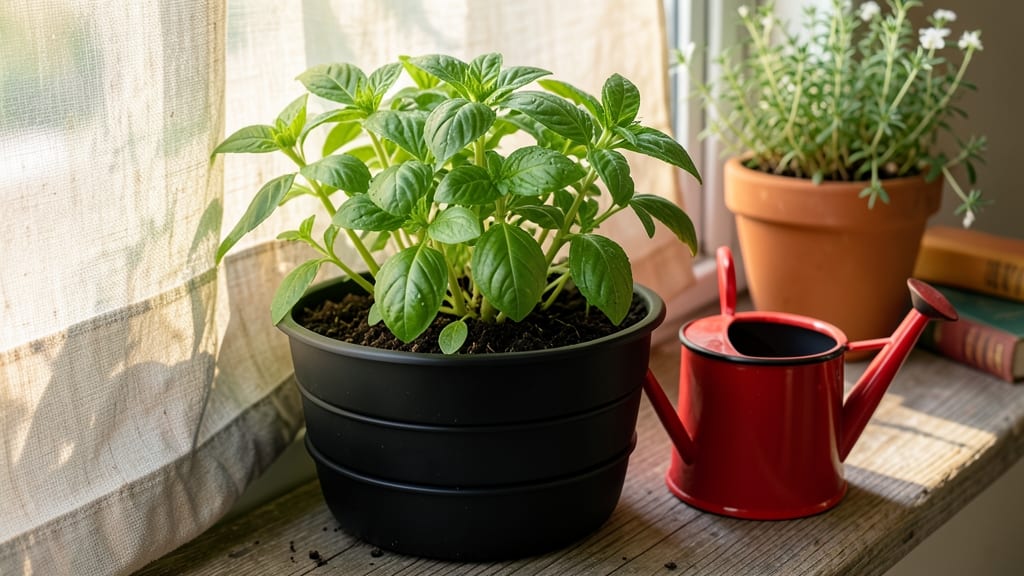
Transforming a $1 planter into a space-saving garden tower is the kind of project that makes small yards feel like lush retreats. 🌿 I've turned my cramped patio into a vertical jungle using nothing but Dollar Tree planters, some basic hardware, and a little creativity—no green thumb required.
The beauty of this setup is how it doubles your growing space without taking up extra square footage. You can stack them vertically, mount them on walls, or even hang them from railings, instantly adding greenery where there was none before. My favorite combo?
A tower of trailing nasturtiums, herbs, and peppers that gets more compliments than my actual garden. By the end of this, you'll have a custom vertical garden that thrives in tight spots, stays budget-friendly, and becomes the star of your outdoor space. The best part?
You can mix and match planters to match your patio furniture or garden theme—no two setups need to look alike. Whether you're dealing with a balcony, a tiny yard, or just want to add height to your garden beds, this is the solution. Let's get those planters stacked and growing!
📚 In This Guide
- What you need
- Instructions
- Tips and common mistakes
- Wrapping up and next steps
What you need
- ● Dollar Tree plastic bins or baskets (6–10 units, depending on height—typically 12"x10"x6" or similar)
- ● Drill or power screwdriver (for making drainage holes)
- ● Drill bits (1/4" or 3/8" for drainage)
- ● Screws or bolts (1/4"–1/2" wood screws or L-brackets, 4–6 per bin)
- ● Wooden dowels or PVC pipes (1/2" diameter, 12–18" long for vertical support)
- ● Potting soil (lightweight, well-draining mix—about 5–10 gallons total)
- ● Plants (herbs, succulents, or trailing plants like strawberries or lettuce)
- ● Measuring tape (to ensure even spacing)
- ● Pencil or marker (for marking screw holes)
- ○ Level (optional, for straight alignment)
- ○ Spray paint or decorative paper (optional, for a polished look)
- ○ Hanging planter hooks (optional, if attaching to a wall)
Step-by-step instructions for building a Dollar Tree vertical planter
Here's how to transform a budget-friendly Dollar Tree planter into a thriving vertical garden that maximizes your small space.
🪴 Step 1: Gather Materials and Prep Your Tower
Start by grabbing a plastic vertical planter from Dollar Tree—these usually come with multiple pockets perfect for herbs, succulents, or leafy greens. I like to reinforce the base with a piece of plywood (12"x12") to prevent tipping, especially if the planter is lightweight. Secure it with 4 zip ties or small screws.
Check the pockets for drainage holes—most Dollar Tree planters have them, but if yours don’t, use a drill to create ¼-inch holes in the bottom of each pocket. This ensures excess water drains and roots stay healthy. Place the tower in a spot with at least 6 hours of sunlight daily—a balcony, patio, or sunny windowsill works best.
🌱 Step 2: Fill Pockets with Soil and Plant Seedlings
Fill each pocket with 2 cups of potting mix—Dollar Tree often sells small bags, or you can use a pre-mixed herb or succulent blend. Press the soil down gently so it stays in place but doesn’t compact too tightly. I like to add a tablespoon of slow-release fertilizer to each pocket to give plants a nutrient boost right from the start.
Plant your seedlings or small plants, spacing them so they’re 1-2 inches from the pocket edges. For herbs like basil or thyme, one plant per pocket is plenty. If using succulents, leave extra space—they spread over time. Water lightly after planting to settle the soil around roots, but don’t oversaturate. The goal is to moisten the soil without drowning it.
💧 Step 3: Water and Maintain for Healthy Growth
Water the tower from the top, letting the water trickle through each pocket. You’ll notice the soil in the lower pockets stays damp longer—this is normal, but avoid letting water pool at the base. I water mine every 2-3 days, checking the top inch of soil first. If it feels dry, it’s time to water; if it’s still moist, wait another day.
Rotate the tower a quarter turn weekly so all pockets get even sunlight. You’ll see leggy growth in the shadier pockets—this is your cue to move the tower or add a small grow light. Fertilize every 4-6 weeks with a balanced liquid fertilizer to keep plants thriving. Prune any dead or yellowing leaves with clean scissors to encourage new growth.
✂️ Step 4: Harvest and Troubleshoot as Needed
Harvest herbs when they reach 3-4 inches tall by snipping just above a set of leaves. This encourages bushier growth. For succulents, pinch off spent flowers or leggy stems to keep them compact. If you notice pests like aphids, wipe leaves with a damp cloth or spray with soapy water—Dollar Tree sells small bottles of mild dish soap for this.
Watch for overwatering signs: yellowing leaves or mushy stems mean you’re watering too much. Underwatering causes crispy edges or wilting. Adjust your watering schedule based on what you see. With proper care, your vertical planter will stay lush for months, giving you fresh herbs or greens without taking up floor space.
Tips & tricks for perfect Dollar Tree vertical planters
Here's what nobody tells you about making the most of your budget-friendly vertical garden tower.
Stabilization Secret: If your Dollar Tree planter feels wobbly, don't just rely on the base—add a small weight like a bag of potting mix or a decorative stone to the bottom. I've seen towers topple when placed near doorways or high-traffic areas, so securing the base with a heavy object (like a ceramic pot) underneath prevents accidents. This works especially well for taller planters with multiple levels.
Sunlight Strategy: The 6 hours of sunlight mentioned in the instructions is a minimum, but your plants will thrive with more. If you're working with limited sunlight, place your planter near a south-facing window or use a small LED grow light for 12-14 hours daily. I've had great success with clip-on grow lights from hardware stores—they're affordable and adjustable to focus on specific pockets.
Soil Science: The 2 cups of potting mix per pocket is perfect, but here's the trick: mix in a handful of perlite or vermiculite to improve drainage. This prevents soggy soil in the lower pockets where water naturally collects. For herbs, I also add a teaspoon of coconut coir to help retain moisture between waterings while still allowing airflow to the roots.
Pest Prevention: That Dollar Tree mild dish soap isn't just for aphids—it's also a great preventive measure. Mix a teaspoon of dish soap with a quart of water and lightly mist your plants every 2 weeks. This creates a protective barrier that deters pests before they become a problem. I keep a spray bottle in my kitchen for quick treatments, and it's worked wonders for my basil and thyme.
Pro Tips for Dollar Tree Vertical Planter
- Here's what nobody tells you about making the most of your budget-friendly vertical garden tower.
- Stabilization Secret: If your Dollar Tree planter feels wobbly, don't just rely on the base—add a small weight like a bag of potting mix or a decorative stone to the bottom.
- Sunlight Strategy: The 6 hours of sunlight mentioned in the instructions is a minimum, but your plants will thrive with more.
Frequently asked questions
Got questions about your Dollar Tree vertical planter?
You’re not alone! Here are some of the most common concerns—and quick, practical answers to help you grow like a pro.
Can I use a Dollar Tree vertical planter for herbs, veggies, or just flowers?
A Dollar Tree vertical planter is versatile! While it’s great for herbs (like basil or mint) and small veggies (e.g., cherry tomatoes or lettuce), prioritize shallow-rooted plants. For larger veggies, pair it with a traditional pot or extend the depth with a DIY liner. Pro tip: Succulents and trailing flowers thrive here too!
How often should I water my vertical planter?
Watering depends on your climate, but generally, check soil moisture every 2–3 days in hot/dry weather. Vertical planters dry out faster because of airflow. Test it: Stick your finger 1 inch deep—if it’s dry, water until it drains from the bottom. Pro tip: Self-watering bases (like a repurposed bottle) can save time!
What if my plants look wilted or unhealthy?
Wilting often means overwatering, underwatering, or poor drainage. First, check the soil—if it’s soggy, let it dry out. If roots peek through drainage holes, it’s root-bound. Fix it: Trim overgrown roots gently, repot if needed, and ensure the planter has holes. Watch for pests too—spray with soapy water if you spot aphids.
Can I reuse a Dollar Tree vertical planter for multiple growing seasons?
Clean it thoroughly after each season with soapy water and a 10% vinegar solution to kill bacteria/fungi. Sterilize with boiling water if possible. Pro tip: Swap out soil yearly to prevent nutrient depletion. Just avoid reusing soil—it can harbor diseases!
Are there cheaper or more durable alternatives?
Dollar Tree planters are budget-friendly, but for longevity, consider plastic crates with landscape fabric or DIY pallet planters (free or $10–$20). If you want pre-made, check thrift stores for terra-cotta pots or hanging shoe organizers (often $5–$10). Balance: Dollar Tree works for short-term or casual use!
Wrapping up and next steps
Transforming your small yard into a lush, vertical garden has never been easier—or more budget-friendly! With a Dollar Tree vertical planter, you’ve unlocked a creative, space-saving solution that’s perfect for herbs, veggies, or flowers.
Whether you’re a green thumb or just starting, this project proves that big results don’t require big budgets.
Ready to bring your garden to new heights? Grab your supplies, follow the steps, and watch your vertical oasis grow! 🌱✨ What will you plant first?