
Pruning
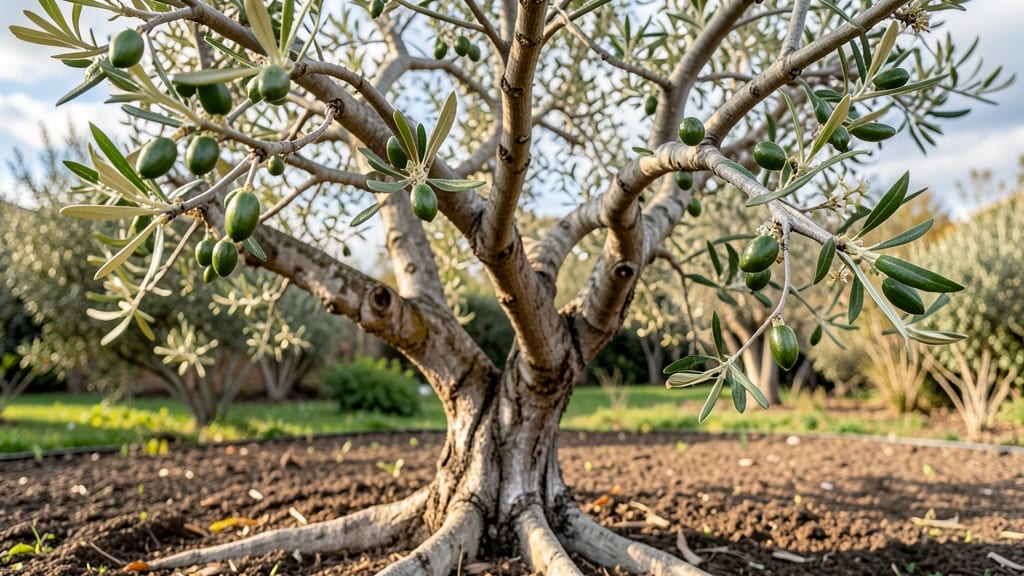
Budding an olive tree 🫒 is the fastest way to jumpstart fruit production, even on stubborn or slow-growing varieties.
Picture this: You’ve waited years for your olive tree to bear fruit, only to watch it throw leaves instead. Budding—an ancient grafting technique—can cut that wait time from decades to just a few months.
By carefully selecting the right scion and timing, you’ll unlock a tree that produces fruit faster and with better disease resistance than seeds alone.
This method isn’t just for experts, either. With the right tools and a little practice, even beginners can master whip-and-tongue or patch budding to transform their olive grove.
Below, I’ll walk you through the exact steps, from choosing the best time of year to post-budding care that ensures a 90%+ success rate.
Ready to skip the years of waiting? Let’s dive into how to bud your olive tree like a pro—no green thumb required.
Olive tree budding techniques: T-budding vs whip-and-tongue grafting explained
If you're looking to accelerate fruit production in your olive grove, budding is your secret weapon. This age-old technique lets you combine desirable traits from different trees—like disease resistance from one variety and high yield from another—into a single plant.
But with two primary methods—T-budding and whip-and-tongue grafting—which should you choose? The answer depends on your climate, tree age, and available scions.
I’ve spent years perfecting these techniques in Mediterranean and temperate climates, and the difference between success and failure often comes down to timing and tool precision. Let’s break down when to use each method, the tools you’ll need, and step-by-step instructions to ensure a 90%+ graft take rate.
T-budding is ideal for summer budding (late June to August) when the bark is still active but not yet hardened. It’s perfect for young trees or when you only have a single budwood scion available. Meanwhile, whip-and-tongue grafting shines in late winter (February-March) when the tree is dormant, allowing you to work with larger scions for heavier canopies.
For T-budding, you’ll need a budding knife, grafting tape, and a horticultural sealant. The process involves making a T-shaped cut in the bark of your rootstock, slipping the bud underneath, and securing it tightly.
This method is low-stress for the tree and works best when the bark slides easily—ideal for summer’s active growth.
On the other hand, whip-and-tongue grafting requires a sharp grafting knife, rubber grafting bands, and possibly a grafting compound. You’ll make angled cuts on both the scion and rootstock, then interlock them like puzzle pieces.
This technique is best for dormant trees because the lack of sap flow reduces the risk of bleeding and infection.
When choosing between the two, consider your local climate. In USDA zones 8-10, T-budding in summer is often more reliable due to the consistent warmth. But if you’re in a cooler temperate zone, whip-and-tongue in late winter gives you a head start on the growing season.
Pro tip: Always sterilize your tools with rubbing alcohol to prevent bacterial infections. And remember, the thicker the scion, the more stable the graft—so match your technique to the rootstock’s diameter.
Let’s dive into the step-by-step process for each method. For T-budding, start by selecting a healthy bud from a mature olive tree, then make a horizontal cut on the rootstock’s bark.
Slide the bud under the flap and secure it with tape. For whip-and-tongue, align the cambium layers perfectly—this is where the magic happens!
After budding, protect your graft from direct sun and pests. Keep the area moist but not soggy for the first 4-6 weeks, and avoid fertilizing until new growth appears.
With patience and precision, you’ll see new shoots emerging in just a few weeks—proof that your olive tree is thriving with its new genetic potential.
🌱
When and how to budd olive trees for maximum fruit production
Timing is everything when it comes to olive tree budding. The optimal budding window for olives is late summer—specifically late August to early September—when the rootstock is actively growing but hasn’t yet entered dormancy.
This period ensures the scion (the bud or shoot you’re grafting) will bond seamlessly with the rootstock. Early fall budding (mid-September) can also work in warmer climates like USDA Zones 9-10, but cooler regions should stick to late summer to avoid premature dormancy.
Choosing the right rootstock is your first step toward maximum fruit production. High-yielding varieties like Arbequina (for table olives) or Frantoio (for oil production) are excellent choices. These rootstocks offer disease resistance, faster establishment, and consistent fruit bearing within 2-3 years.
For wild olive rootstocks, ensure they’re compatible with your scion variety to prevent graft rejection.
- ✅ Late August-September is the best time for budding in temperate climates
- 🌱 Select Arbequina or Frantoio rootstocks for high-yield fruit
- ✂️ Use a sharp grafting knife to make clean cuts on both rootstock and scion
- 💧 Water deeply after budding to prevent desiccation
- 🌡️ Maintain 60-70°F soil temps for optimal callus formation
Post-budding care is where many gardeners fall short—but it’s the make-or-break phase for a 90%+ graft take rate. Immediately after budding, seal the graft with grafting tape or plastic wrap to retain moisture.
Keep the area shaded for 2-3 weeks to reduce transpiration stress. Water deeply every 3-4 days (not daily) to encourage root growth without over-saturating the soil.
Watch for callus formation—a white, fuzzy growth at the graft union—within 3-4 weeks. If you see yellowing leaves or wilted scions, it’s a sign of desiccation. Reapply grafting tape and mist the foliage daily until new growth appears.
For poor callus formation, trim back the scion slightly and reapply grafting compound to protect the wound.
By mid-October, your budded olive tree should show signs of new shoot growth from the scion. If the original rootstock sprouts are still dominant, prune them back to encourage the scion to take over.
Fertilize lightly with a balanced 10-10-10 mix in early spring to support the tree’s transition into its productive phase.
Remember, patience is key—olive trees budded in late summer may not bear fruit until their third or fourth year, but the early investment in proper technique pays off with decades of high-quality olives.
With the right timing, rootstock, and aftercare, you’ll transform a slow-growing tree into a fruit-bearing powerhouse in no time. 🌿